Getting your seat belts installed correctly isn’t just about ticking a box for the MOT—it’s about making sure every passenger in your vehicle is protected by a restraint system that actually works. Whether you’re retrofitting belts to a classic car, replacing worn webbing after years of use, or converting a van for family adventures, professional seat belt installation ensures the job is done to the standards that matter when every millisecond counts.
This guide walks you through everything you need to understand about seat belt installation in the UK: what the service includes, when you need it, how to prepare, and what to expect in terms of costs and timeframes. By the end, you’ll have the expertise to make an informed booking and ensure your vehicle meets both safety and legal requirements.
Fast Seat Belt Installation Service
If you’re looking for same-day or next-day seat belt installation, you’ve come to the right place. The fitting service covers most cars, vans, and 4x4s across the UK, with both workshop-based and mobile fitting service options available to suit your schedule.
Location example: Dedicated fitting bay in Birmingham (B7 4AA), with mobile fitting available within a 30-mile radius for customers who can’t travel to the workshop.
Booking speed: Appointments can typically be arranged within 24–48 hours, depending on parts availability and workshop demand.
Fitting time: Expect on-site work to take between 1.5 and 3 hours per vehicle for standard installations. Complex retrofits or multi-seat conversions may require additional time.
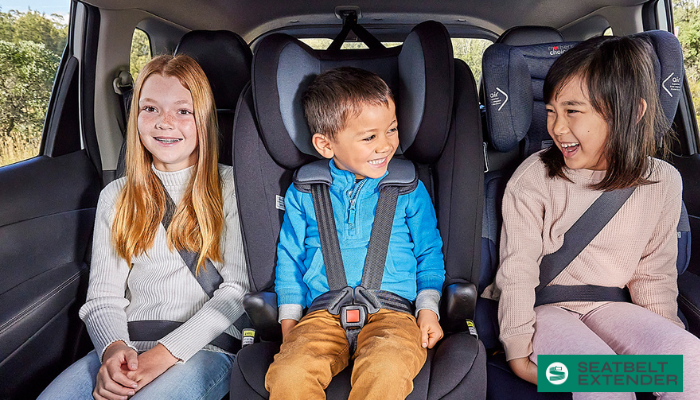
What’s included: The service covers front and rear 3-point belts, lap belts for centre seats, and child seat anchor (ISOFIX) checks as part of the installation process. For families, belt installation is only half the job; belt fit matters too as children grow and transition out of booster seats.
Compliance: Only E-marked or EU/UK-approved belts and hardware are used, ensuring full compliance with current UK road safety regulations and MOT standards.
The goal is simple: get you back on the road with restraints that work, fitted by someone who understands the requirements of your specific vehicle.
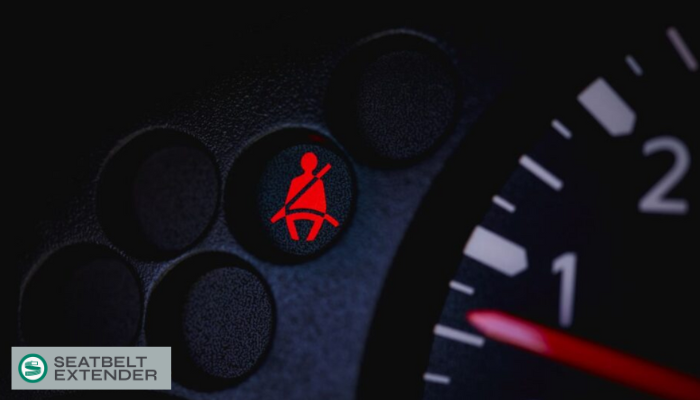
Why Proper Seat Belt Installation Matters
Car seat belts are the primary restraint system in any vehicle. They’re designed to work alongside airbags, distributing crash forces to the strongest parts of your body and keeping you in position for the airbag to do its job. If you want the bigger picture on why restraint systems matter on every journey, see our UK road safety guide on seatbelt use.
UK law has required front seat belts since 1983 and belts in all passenger seats since 1991. Non-compliance isn’t just dangerous—it risks fines, penalty points, and complications with insurance claims in the event of an accident.
Force distribution: A correctly installed 3-point belt spreads crash forces across the pelvis, chest, and shoulder. This reduces the risk of serious injury by keeping occupants away from the dashboard, steering wheel, and windscreen.
Real-world impact: Government and insurance data consistently show that properly worn and fitted belts save thousands of people from serious injury every year. NHTSA studies indicate that up to a 50% reduction in fatalities can be achieved when belts are correctly installed and used.
Failure risks: Poorly installed belts—wrong anchor points, twisted webbing, or slack reels—can fail under load or cause additional harm. Research suggests twisted webbing can halve a belt’s effectiveness, and undertorqued bolts may shear at forces well below what a crash produces.
Hidden dangers: Even belts that look fine can harbour faults. A retractor that doesn’t lock under sharp deceleration or a buckle that releases under load creates a false sense of security.
The bottom line: installation quality directly affects whether your restraint system protects you or lets you down.
When to Install or Replace Seat Belts
Understanding when you need new seat belts versus when replacement is required helps you plan ahead and avoid surprises at the MOT station.
New installation scenarios:
Older classic vehicles that left the factory without rear belts or with inadequate lap-only restraints
Imported vehicles where the belt configurations don’t match UK seating positions or right-hand-drive layouts
Camper van and motorhome conversions where new seating positions require belts that didn’t exist in the original panel van
Vehicles modified for disability access, including wheelchair-accessible conversions with new seating arrangements
Replacement scenarios:
After any collision where the belts locked or the pretensioners deployed, these components are designed for single use
Visible fraying, cuts, or abrasion on the webbing, even if the damage appears minor
Damaged or sticky buckles that don’t latch securely or release unpredictably
Retractors that are slow to wind, don’t retract fully, or fail to lock under a sharp pull
Any belt showing burn marks or discolouration from airbag deployment—these should be removed and replaced, not reused
Some minor issues can be fixed with careful cleaning and inspection, but anything involving damage or post-crash loading usually requires replacement. See how to repair a seat belt (step-by-step guide)
Age-related considerations:
Recommend inspection after 10+ years of service, especially on vehicles regularly exposed to sun, moisture, or temperature extremes
Webbing degrades over time, even without visible damage; UV exposure and repeated tension cycles weaken the fibres
Avoid fitting used or unknown-history belts from scrap vehicles to any seating position—you can’t verify their crash history or structural integrity
When in doubt, replace. The cost of new belts is insignificant compared to the risk of restraint failure.
Preparing Your Vehicle for Seat Belt Installation
A few minutes of preparation before your appointment can shorten fitting time and help you avoid extra labour charges.
Taking these steps ensures the fitter can start work immediately and access all the mounting areas without delay.
Clear the interior: Remove child seats, seat covers, boot liners, and any cargo stored near the belt mounting areas (B-pillars, floor anchors, rear arches).
Check for structural issues: Look for obvious rust, previous accident repairs, or filler around pillars, sills, and rear arches. Corrosion or poor repairs can affect anchor strength and may require remedial work before belt installation.
Gather documentation: Owners of classic cars (pre-1980 models) or camper vans should bring any previous modification paperwork, VOSA/IVA documents, or SVA certificates if available. This helps the fitter understand what’s been done before.
Vehicle handbook access: The fitter may need torque values, routing diagrams, or anchor point specifications from the vehicle handbook or online service information. Having this to hand (or knowing where to find it) speeds up the process.
Note any existing faults: If you’ve noticed issues—such as slow retraction, buckle problems, or webbing that doesn’t sit right- mention them at booking so the fitter can plan accordingly.
These small steps add up to a smoother experience and help ensure nothing is left to chance.
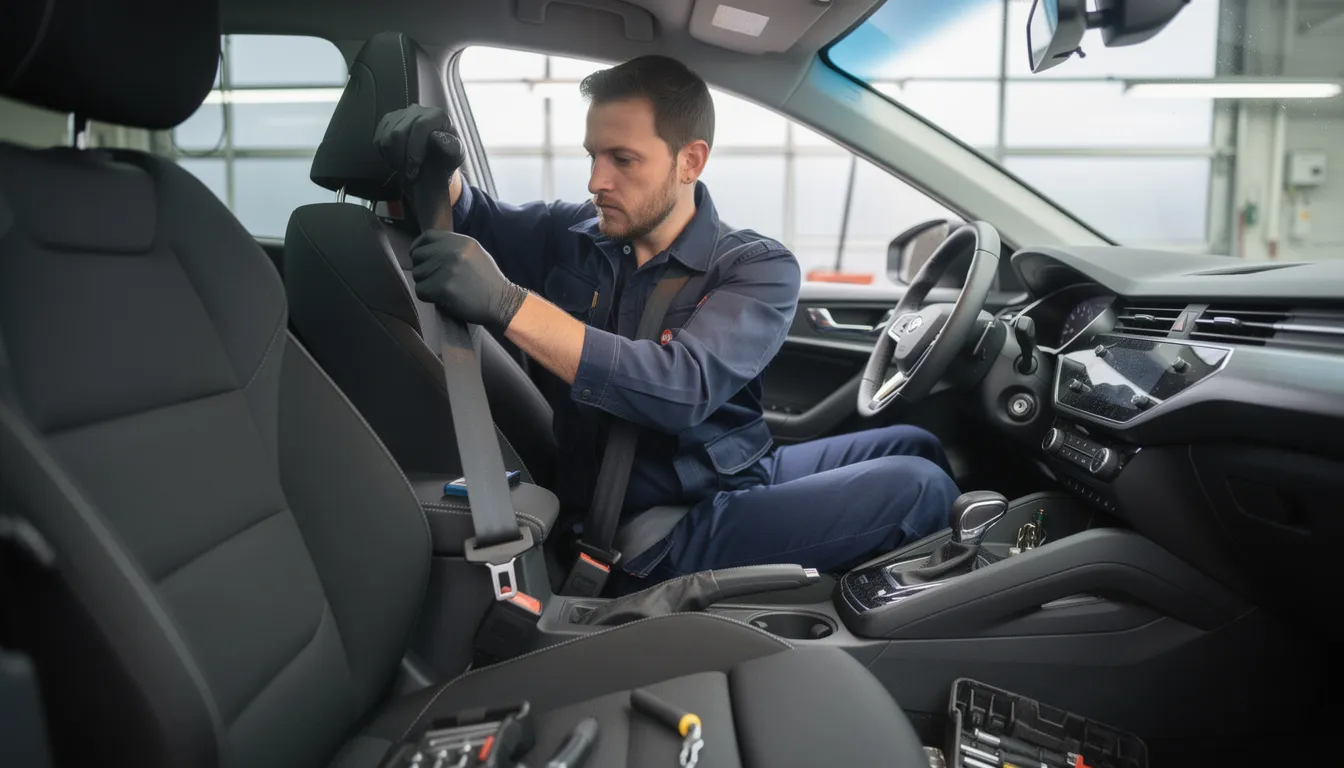
Step-by-Step Overview of Seat Belt Installation
This section provides a non-technical overview for vehicle owners, not a DIY workshop manual. Professional seat belt installation follows a structured process to ensure every belt performs as designed.
Initial inspection:
Assess existing belts for wear, damage, and correct routing
Check mounting points in A-pillars, B-pillars, C-pillars, and floor—look for corrosion, damaged threads, or missing factory hardware
Identify whether the vehicle has pretensioners, load limiters, or side curtain airbags that require special handling
Removal of old belts:
Carefully unbolt lower mounts, upper guides (D-rings or shoulder loops), retractor units, and buckle stalks
Use correct tools and torque settings to avoid damaging threads or trim panels
Disconnect any electrical connections for pretensioners with appropriate safety precautions—airbag systems should be disabled before work begins
Preparation work:
Clean threads and apply corrosion treatment where needed
Test-fit new anchor bolts and spacers to confirm compatibility
Verify belt orientation—retractors must mount at approximately 90° to the vehicle’s longitudinal axis for optimal spool tension and free webbing extraction
Installation:
Position the retractor at the correct angle in the B-pillar or rear parcel shelf area
Route webbing through guides without twists—twisted webbing significantly reduces belt effectiveness
Fit the stalk and buckle points at the correct angles (typically around 50° upward from horizontal for intuitive access)
Tighten all fasteners to manufacturer torque specifications—typically 35–50 ft-lbs using Grade 5 or better bolts rated for a minimum of 9,000 lbs shear strength
Functional testing:
Check retraction speed—belt should pull back smoothly with no hesitation
Test locking function under sharp pull—the inertia reel should lock immediately
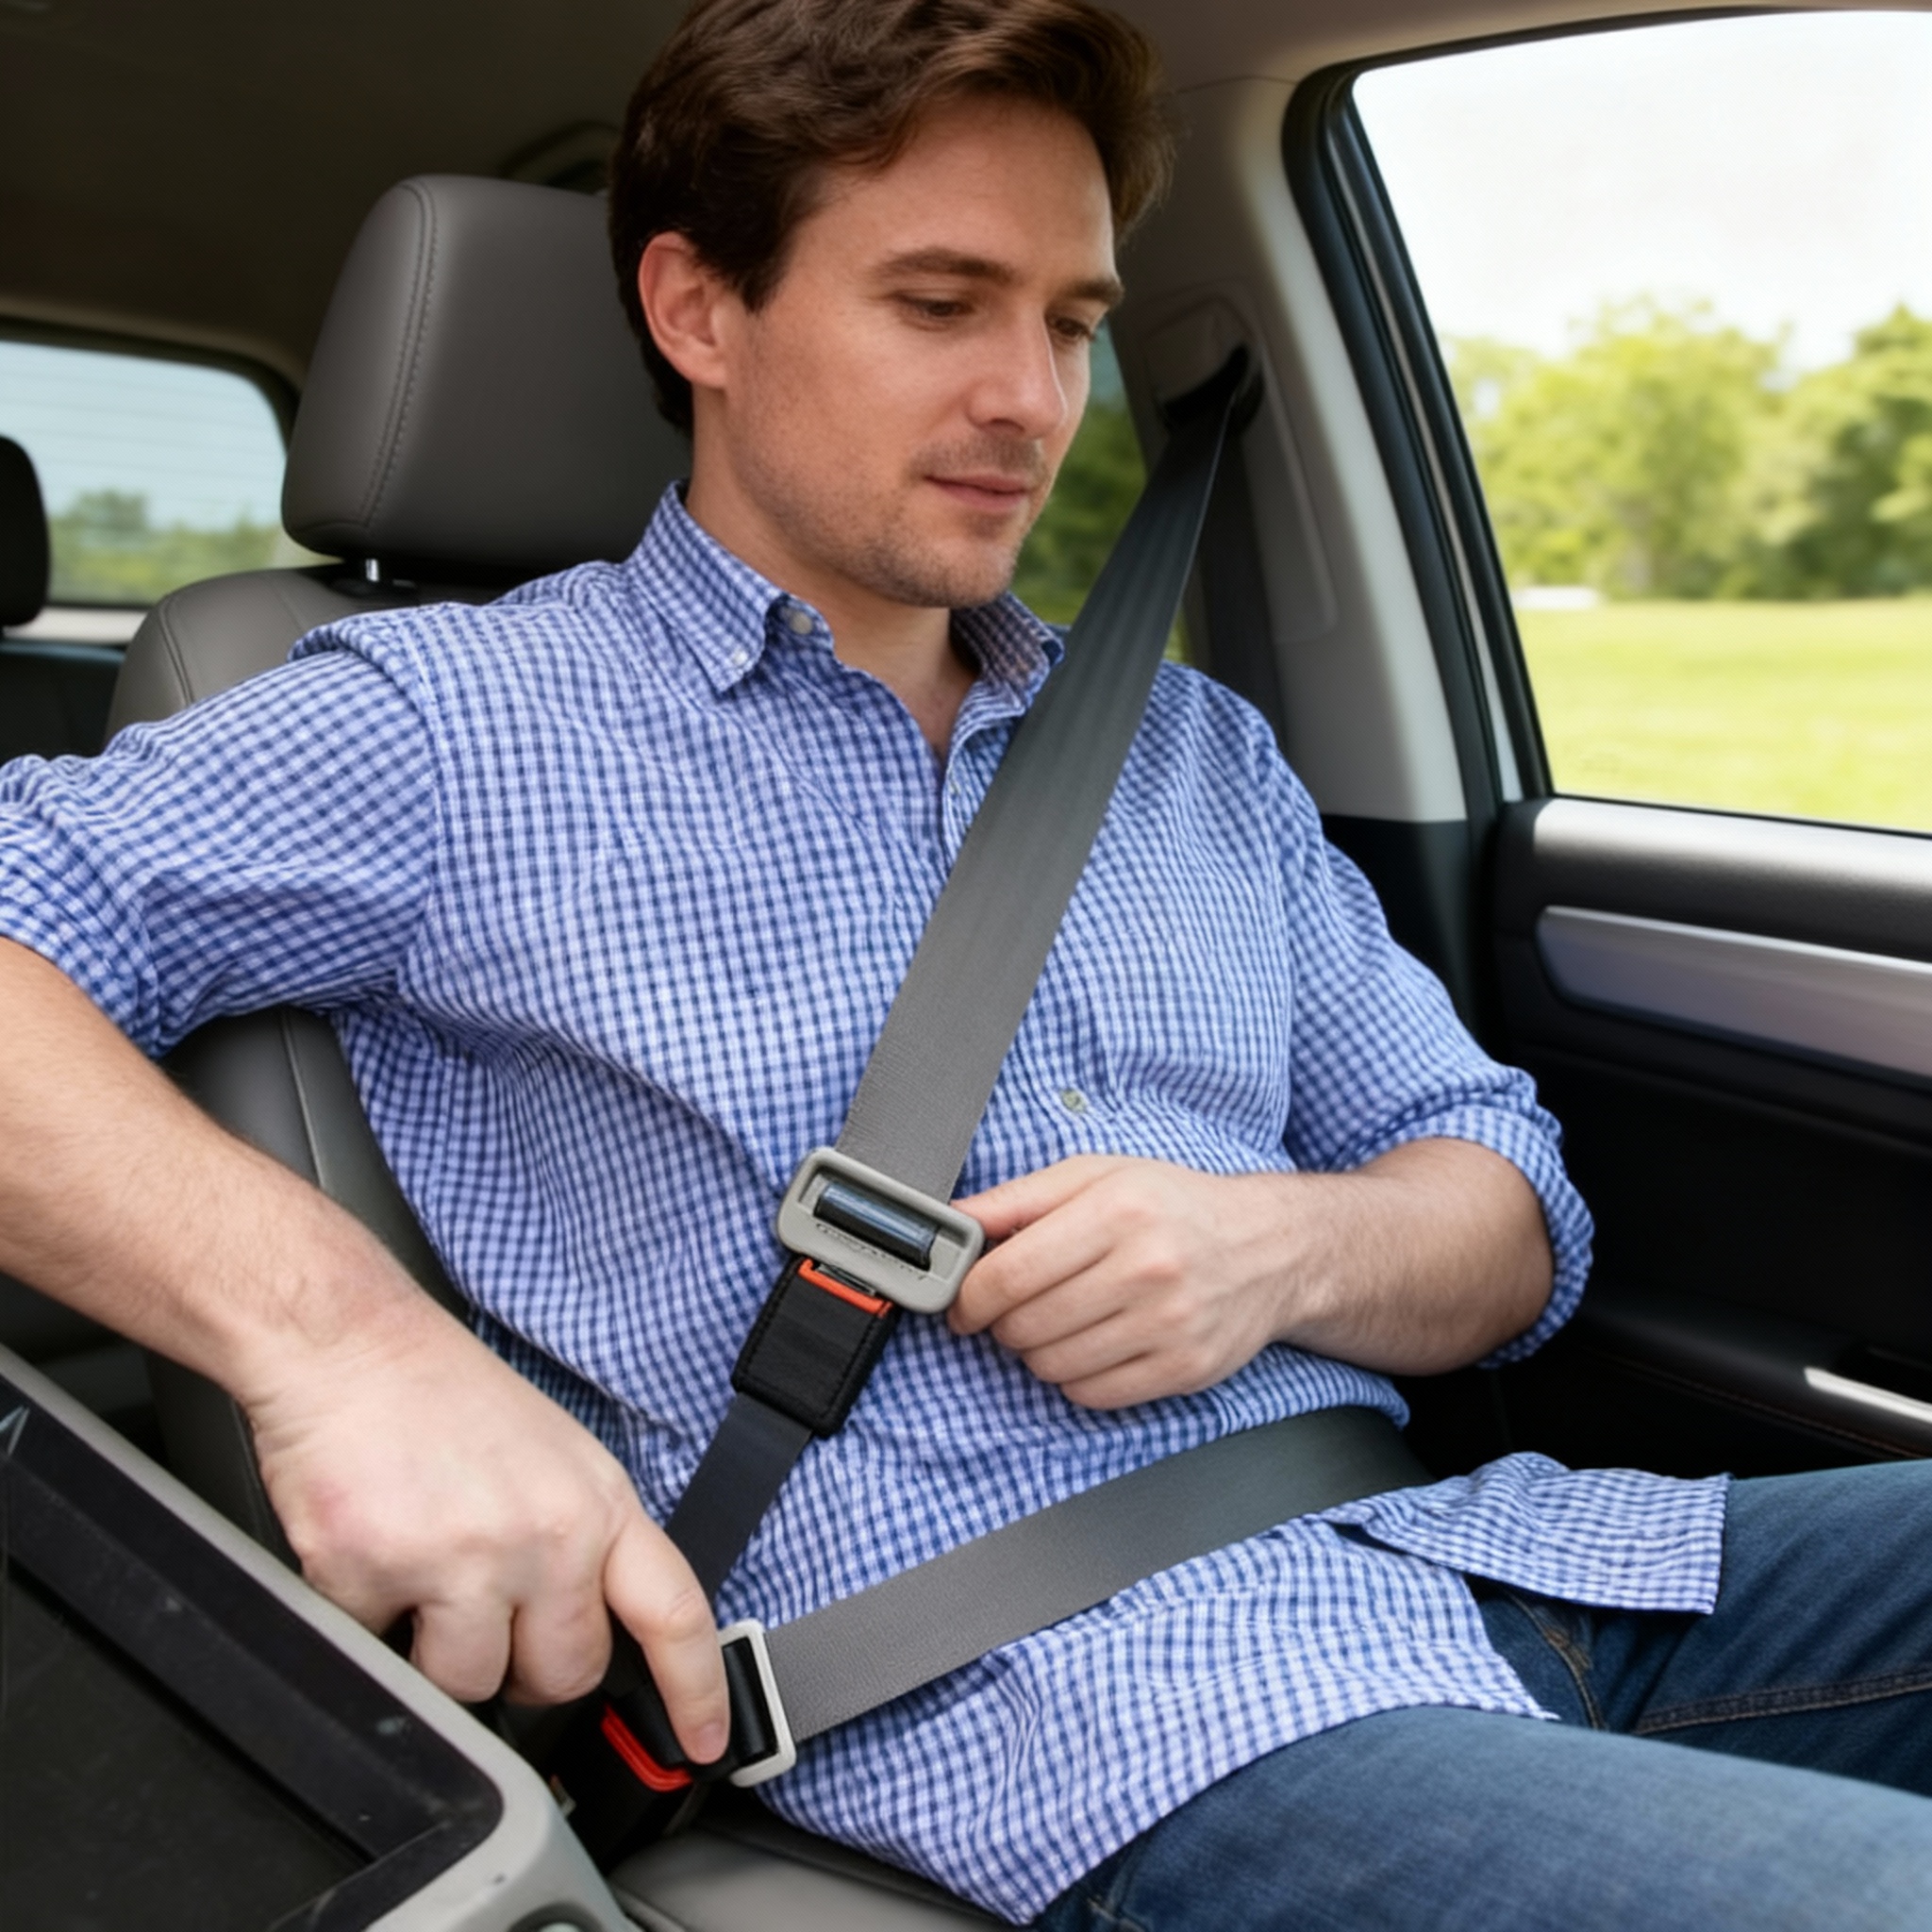
Verify buckle engagement and release—the tongue should latch securely and release cleanly
Confirm the proper belt lies across the driver and passengers, with two-finger clearance (about 2.5 cm) between the belt and chest
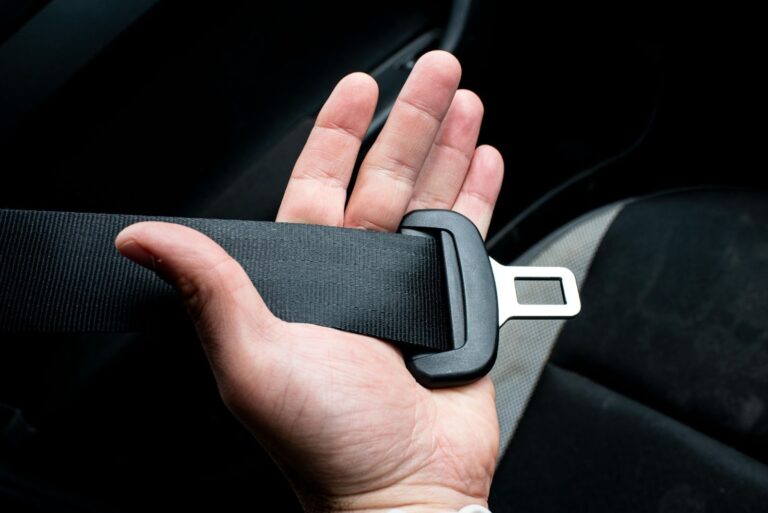
If a belt functions correctly but feels too tight for safe positioning, the safest approach is to choose the shortest compatible extender that restores proper fit without introducing slack.
Important note: Vehicles with side curtain airbags, pretensioners, or integrated seat belt systems require particular care. These should only be handled by trained technicians with experience in airbag-safe procedures.
Seat Belt Types, Colours, and Mounting Options
Modern seat belt installation can combine safety with customisation while remaining fully road-legal and insurance-friendly. The full range of options means you don’t have to compromise on appearance to get the protection you need.
Belt types available:
Standard 3-point inertia reels: The most common type for front and outer rear seats, combining comfort with automatic locking under deceleration
Static lap belts: Used for centre rear seats where 3-point mounting isn’t practical, or as supplementary restraints in some configurations
4-point harness kits: For off-road vehicles, track day cars, or specialist applications where additional lateral support is required
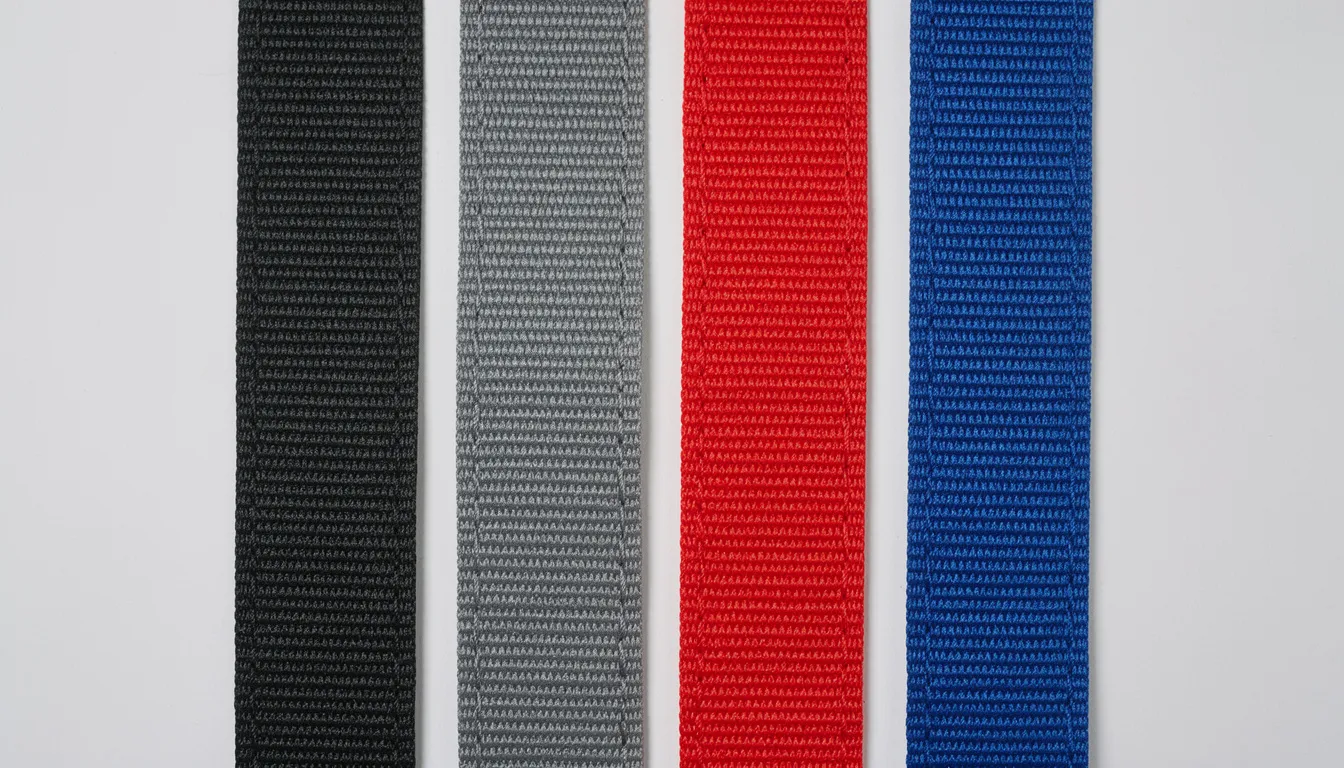
Colour choices:
OEM-style black and grey webbing for factory-look replacements
Bright colour options, including red, royal blue, and yello,w using 11-panel polyester construction for durability and comfort
Custom colours can often be sourced for restoration projects or vehicles where appearance matters
Mounting options:
Factory anchor points—the preferred option where available, as these are engineered for the vehicle’s crash structure
Reinforced floor mounts with backing plates for vehicles where OEM points are limited or don’t exist
Custom solutions for vans, camper conversions, and modified vehicles where seating positions differ from the original layout
Compliance assurance:
Every belt and mounting kit supplied is E-marked and matched to the vehicle’s weight class, seating position, and intended use. This ensures the installation meets UK regulations and won’t create issues at MOT or with insurers.
Professional Fitting vs DIY Installation
Although some mechanically skilled owners attempt DIY seat belt installation, professional fitting is strongly recommended for safety-critical restraint systems. The difference between getting it right and getting it wrong can be life-changing.
Risks of DIY installation:
Incorrect torque on anchor bolts—undertorqued fasteners can shear under crash loads (research indicates bolts tightened below specification may fail at 2,500 lbs instead of the required 3,500+ lbs)
Using non-rated hardware from general-purpose suppliers instead of vehicle-specific Grade 5+ bolts
Routing webbing over sharp edges or through incorrect guides, leading to premature wear or cutting under load
Accidentally interfering with airbag sensors, pretensioner wiring, or side curtain deployment systems
No written documentation for insurers or MOT inspectors to verify the work
Benefits of professional installation:
Experience across multiple marques and vehicle types, from modern hatchbacks to 1960s classics
Access to manufacturer technical data, torque specifications, and routing diagrams
Calibrated torque tools that ensure fasteners are tightened to exact specifications
Public liability insurance covering the work, plus written installation reports for your records
Faster completion—what might take a DIY installer an entire weekend can often be done in a few hours by someone with the right tools and expertise
When professional fitting is essential:
Complex jobs such as retrofitting a 1970s saloon with belts, converting a panel van into a camper with multiple seating positions, or installing restraints in a wheelchair-accessible vehicle typically require professional sign-off. These projects often need custom brackets, reinforcement plates, and careful documentation for IVA testing or insurance purposes.
Professional installers can also provide a written installation report that meets insurers’ and MOT testers’ requirements—something DIY work cannot.
Seat Belt Installation Costs and Timeframes
Prices vary depending on your vehicle, belt type, and whether you’re getting a new installation or a straightforward replacement. The figures below provide realistic budgeting expectations.
Example price ranges:
Front belt replacement: From around £90–£150 per side including E-marked parts and labour
Rear belt replacement: Similar range, though access can be more difficult on some vehicles
Full set of front and rear coloured belts: From around £350–£550 fitted, depending on vehicle complexity and colour choice
Classic car retrofits or camper conversions: Often higher due to custom brackets, reinforcement plates, and additional fabrication time
Labour time examples:
Job Type
Typical Time
Straightforward replacement (pair of belts)
1–2 hours
Full vehicle belt replacement (4 positions)
3–5 hours
Complex retrofits or conversions
Full day
Custom fabrication work
2–3 days in rare cases
Additional considerations:
Classic vehicles, imports, and camper conversions may require custom brackets or reinforcement plates, which increases both cost and lead time for parts
Vehicles with pretensioners or integrated seat belt systems may require additional diagnostic work after installation
Trim panels that are brittle or damaged may need replacement, adding to the final bill
Recommendation: Request a written quote in advance specifying the belts, hardware, colour (if applicable), and any additional trim work required. This avoids surprises and ensures you understand exactly what you’re paying for.
Booking Your Seat Belt Installation
Ready to get your seat belts installed or replaced? The booking process is straightforward, and most customers can secure an appointment within a few days.
Taking action now means you won’t be caught out by an MOT failure or find yourself making a long journey with restraints you don’t fully trust.
How to book:
Online: Complete the booking form on the website with your vehicle details and preferred dates
Phone: Call directly to discuss your requirements and arrange an appointment
Email: Send your vehicle information, and we’ll respond with availability and a quote
Information to provide:
Vehicle make, model, year, and registration number
Which seating positions need belts fitted (front, rear, or all)
Any modifications to the vehicle (camper conversion, wheelchair access, aftermarket seats, roll cage, etc.)
Colour preferences if you’re choosing non-standard webbing
Your location, if you require the mobile fitting service rather than workshop-based work
Deposits and payments:
A small deposit may be required to reserve parts and workshop time, particularly for custom colours or specialist hardware
Balance payable on completion, once you’ve inspected the work and tested the belts yourself
Timing advice:
Plan around your MOT due date—allow at least two weeks before the test to ensure everything is fitted and checked
If you’re preparing for a long journey or event, book early to avoid last-minute stress
Warranty:
Installations typically come with a written 12-month warranty covering webbing and stitching against manufacturing defects
Warranty excludes misuse, accident damage, or wear from normal use
Keep your installation report safe—it serves as proof of professional work for insurers and future buyers
Whether you’re looking to replace worn belts on a daily driver, fit restraints to a classic that never had them, or cater to the needs of a custom conversion, the right installation makes all the difference. Don’t leave occupant safety to chance, get in touch to arrange your seat belt installation today.
Mr Seatbelt
I'm a huge fan of travelling, and doing so safely. I write articles about seatbelts to help educate our customers. If you have any questions about seat belts, just ask!