A seat belt that won’t latch, retracts too slowly, or sits twisted across your chest isn’t just annoying – it’s a safety hazard that needs sorting as soon as possible. The good news is that many common seat belt issues can be resolved at home with basic tools and a bit of patience. The bad news? Some problems are beyond DIY territory and require professional seat belt repairs or complete replacement.
This guide walks you through diagnosing what’s actually wrong, fixing the problems you can safely tackle yourself, and knowing when to hand the job over to a mechanic or specialist.
Yes, you can repair certain seat belt problems yourself – but only certain ones. Light dirt buildup, debris stuck in the buckle, minor twists in the webbing, and slow retraction caused by gunk are all fair game for a confident DIYer. These issues typically don’t compromise the belt’s structural integrity and can be resolved with basic cleaning and adjustment.
However, if your safety belt shows any signs of physical damage to the webbing – frays, cuts, burn marks, or tears – you must replace the entire assembly. The same applies to any belt that was loaded during a collision. If you were involved in an accident (whether on Mar 6, 2025, Mar 12, 2025, or any other date) and the belt locked tight during impact, that retractor mechanism has done its job and likely cannot be trusted again.
The three main issues you can realistically fix at home are:
What you absolutely cannot safely repair yourself includes stitching, glueing, burning, or knotting damaged webbing. This isn’t just inadvisable – it’s dangerous and potentially illegal. The fabric of your seat belt is engineered to withstand specific forces, and any DIY modification compromises that engineering.
If your car was built after around 2000, it almost certainly has seat belt pre-tensioners – pyrotechnic devices that tighten the belt during a crash. Any work near these systems should be done with the battery disconnected, and ideally by a professional who understands the risks.
Here’s what this guide covers:
Driving with a broken seat belt isn’t just risky – in most jurisdictions, it’s illegal. The UK, US states, and EU countries all require occupants to wear seat belts where fitted, and operating a vehicle with a non-functional belt can land you in legal trouble.
In the UK specifically, a damaged or non-working seat belt is an automatic MOT failure. Beyond the test itself, it’s illegal to carry a passenger in any seat that was originally manufactured with a belt if that belt isn’t working properly. This applies to rear seats as well as front ones – a common oversight for drivers who assume the back is somehow exempt.
If you need a quick refresher on why belt use matters even on short journeys, see our UK road safety guide on seatbelt benefits.
Medical exemptions do exist. In the UK, you can obtain a “Certificate of Exemption from Compulsory Seat Belt Wearing” from your doctor if you have a genuine medical condition that prevents belt use. However, you must be able to produce this certificate to the police if stopped. Contrary to popular belief, being pregnant or having a disability doesn’t automatically exempt you – you need the specific certificate.
The safety risks of driving with a faulty belt extend beyond the obvious:
The bottom line? A seat belt issue should be addressed before you drive the car again, not when you get around to it.
Before you attempt any fix, you need to figure out exactly what’s gone wrong. Correct diagnosis saves time, prevents you from making unnecessary purchases, and keeps you from attempting repairs that shouldn’t be done.
Start with this simple diagnostic checklist:
| Check | What to look for | What it might mean |
|---|---|---|
| Inspect webbing | Frays, cuts, burn marks, stiffness, fading | Replacement required |
| Test buckle | Clicks firmly, releases cleanly, holds under tug | Debris or mechanism failure |
| Test retraction | Smooth pull-out, consistent return speed | Dirt, twist, or spring issue |
| Listen for noises | Grinding, clicking, or catching sounds | Internal debris or damage |
| Check after accident | Belt locked solid, won’t extend at all | Pre-tensioner deployed |
Pull the belt out fully and run your fingers along the entire length of the webbing. You’re feeling for rough patches, frayed edges, or anything that catches. Look for cuts (sometimes from knives used carelessly), chew marks from pets, or melted spots from cigarettes or hot ash.
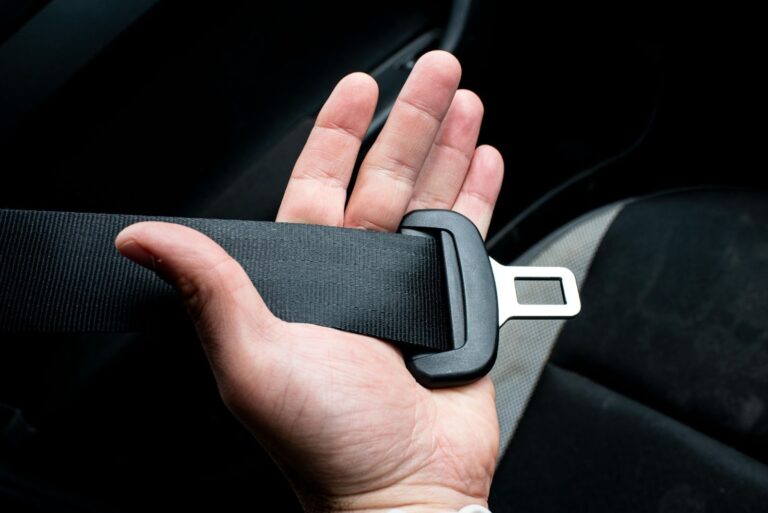
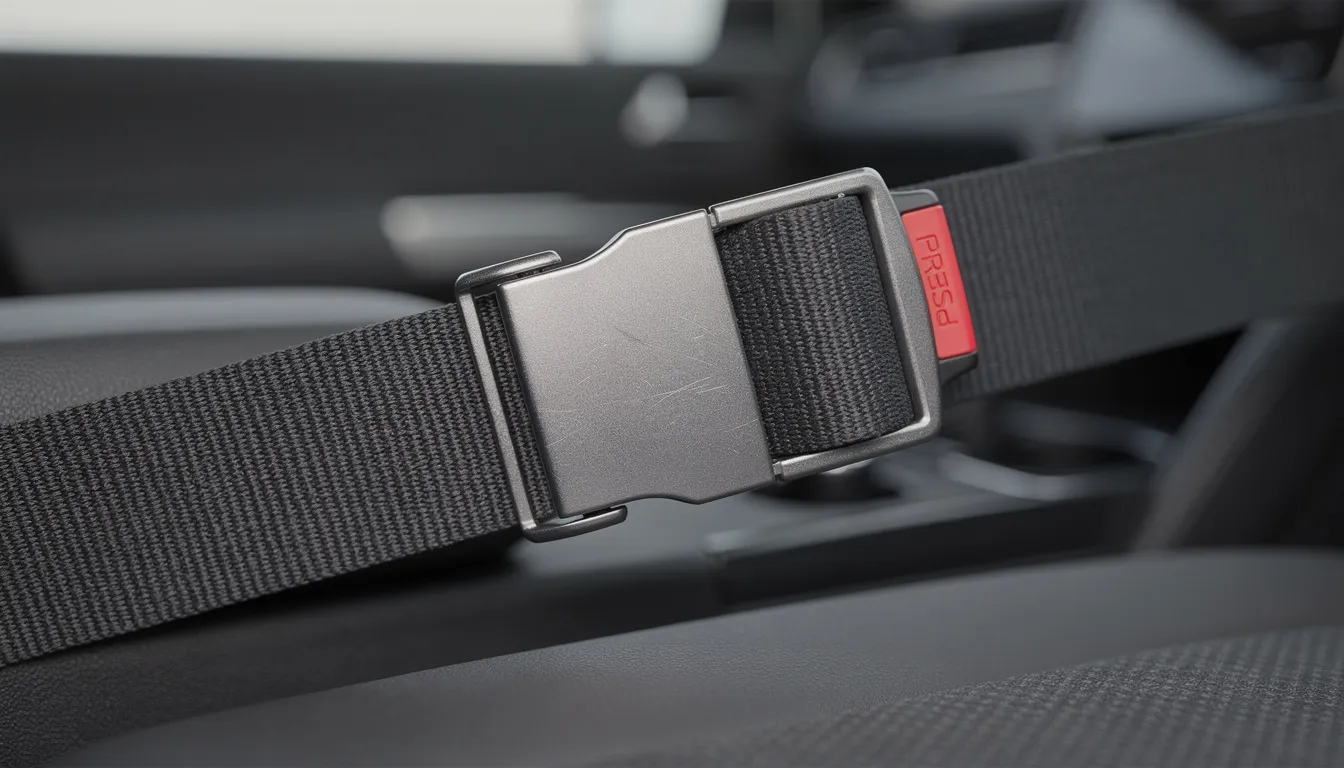
Check the tongue – the metal piece that clicks into the buckle. Is it bent, crushed, or covered in rust? A deformed tongue won’t engage the locking mechanism properly and may pop out under force.
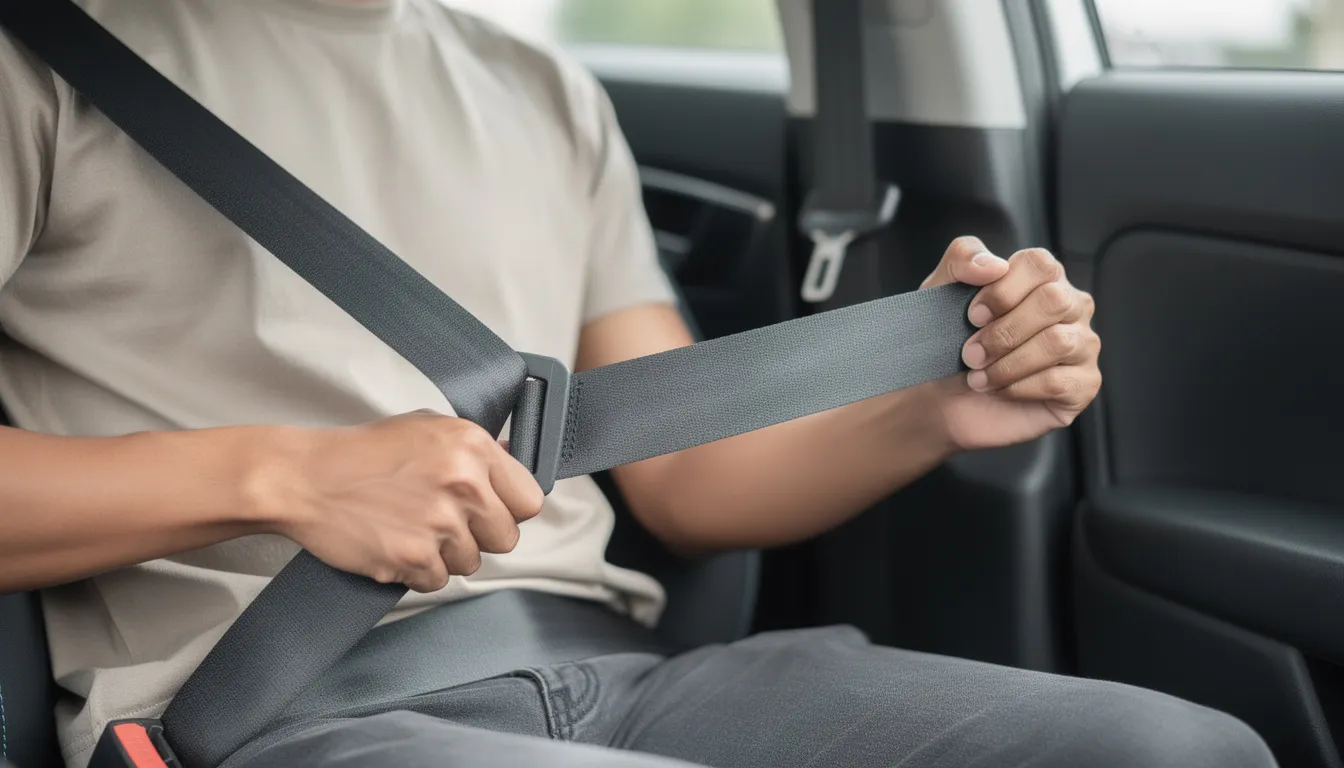
Insert the tongue into the buckle firmly. You should hear a definite click, and the tongue should seat fully with no movement or play. Pull sharply on the webbing – the belt should hold without the tongue releasing.
Now press the release button. It should pop the tongue out with a single press and consistent resistance. If you have to wiggle, jiggle, or press multiple times, there’s likely debris inside or a worn latch mechanism.
Unbuckle the belt and let it retract fully. It should pull back into the retractor housing smoothly and completely, without you having to guide it or push the last few inches in. If retraction is slow, patchy, or stops partway, you’ve identified a retractor issue.
Pull the belt out to full extension and check for hidden twists, especially near where the belt feeds into the B pillar trim. Twists can cause the belt to snag on the guides and stop working properly.
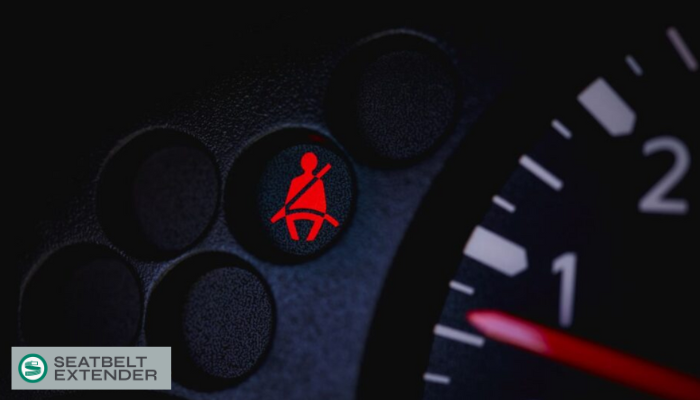
If your vehicle was in a collision and the belt locked tight during impact, or if the airbag deployed and an SRS warning light appeared on the dashboard, assume the seat belt retractor and any pre-tensioner components need replacement, not repair. These systems are designed for single use in a genuine emergency.
If your belt or occupancy sensor is triggering warnings, it’s worth understanding what the alarm is actually responding to before trying to silence it.
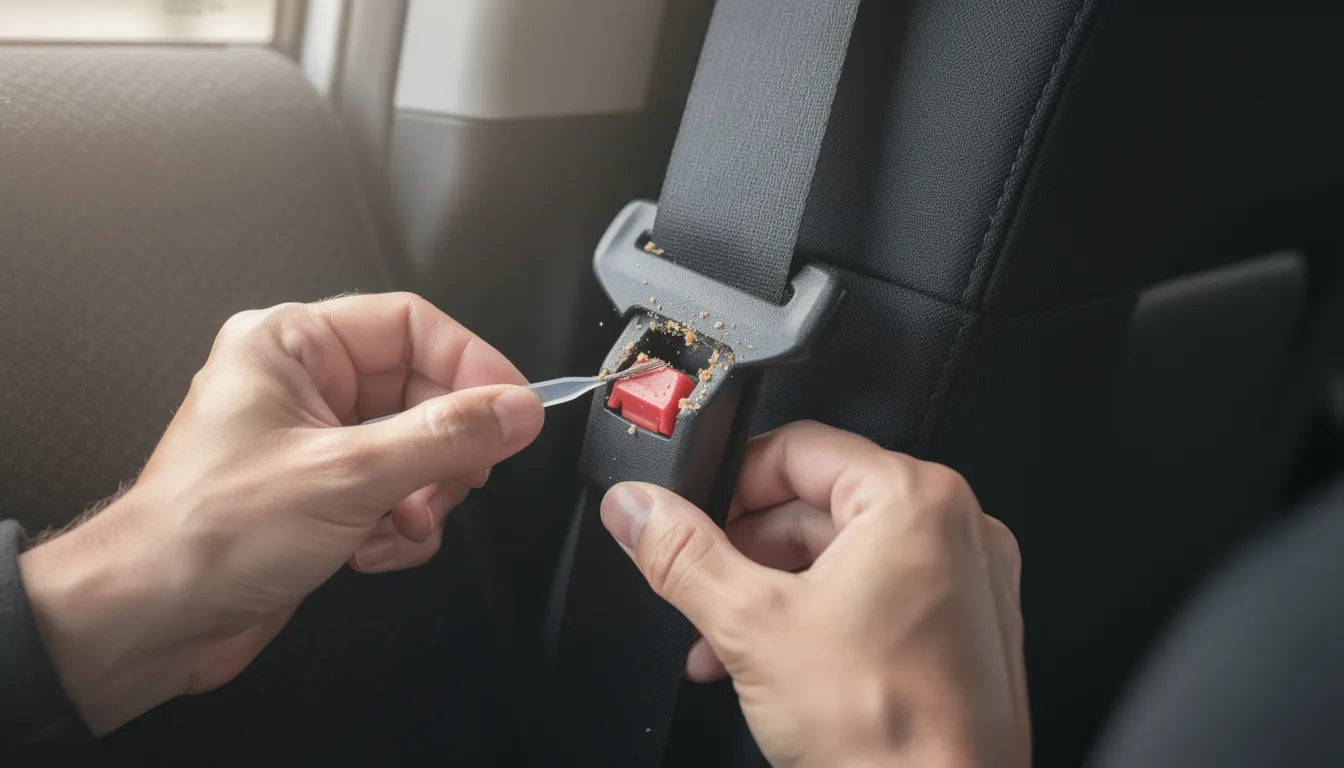
Many buckle problems come down to one thing: debris. Crumbs from fast food, spilt coffee, dropped coins, sand from the beach – all of it finds its way into that small opening and gums up the mechanism. A gentle cleaning often restores full function without any part replacement.
That said, if the buckle housing is cracked, visibly deformed, or heat-damaged from a fire or extreme sun exposure, cleaning won’t help. The same applies if the buckle still fails to hold the tongue securely after a thorough cleaning. In these cases, replace the entire buckle assembly.
Start with the easy bit. Remove the belt from any guide loops if needed, then scrub the metal tongue with warm, soapy water and an old toothbrush. If there’s surface rust or rough burrs, smooth them gently with a fine file – you want the tongue to slide smoothly into the buckle without catching.
Dry the tongue completely before testing. Even small amounts of moisture can cause sticking.
Avoid flooding the buckle with lubricant. A light spray is enough – too much attracts more dirt and can make the problem worse over time.
Only attempt this if you’re comfortable with the process, and the buckle isn’t part of a pyrotechnic pre-tensioner system. Most buckles have a single mounting bolt connecting them to the floor or seat frame.
Remove the bolt using the appropriate socket (usually 14mm or 17mm, torqued to manufacturer spec on reassembly). Carefully pry apart the plastic casing – it’s often held by clips that can snap if forced. Inside, you’ll see a spring-loaded tab that engages with the tongue. Check that it moves freely, remove any obstructions, and reassemble.
A buckle that won’t release the tongue is an urgent problem – you can’t safely drive with a passenger trapped in their seat. Before reaching for tools, try these steps:
If that doesn’t work, use a thin plastic trim tool or a narrow flat screwdriver wrapped in tape (to prevent scratching). Insert it alongside the tongue, then press down on the internal locking tab while holding the release button.
Spray a small amount of compressed air or silicone lubricant into the opening to loosen any sticky residue – dried soda and coffee are common culprits.
If the buckle remains jammed or the release button feels loose, wobbly, or broken, stop trying to force it. The safest path forward is replacing the buckle assembly entirely or having a professional handle it immediately.
Poor retraction is frustrating but often fixable. The usual suspects are twisted webbing, dirt buildup on the fabric or mechanism, or a weakened spring inside the retractor. Some of these you can address yourself; others require professional help or replacement.
Start by pulling the belt fully out several times, feeling for snags or resistance points. Check the entire length of the webbing for twists, especially where it passes through the plastic guides or the slot in the B-pillar trim.
A twisted belt won’t retract at normal speed because it catches on the edges of the guides. This simple fix resolves the issue in many cases.
Dirty webbing can drag through the mechanism, slowing retraction. Here’s how to clean it properly:
Never use a dryer or heat gun to speed drying. The heat can damage the webbing fibres and compromise their strength.
On most cars, the seat belt retractor sits behind the lower B pillar trim – the vertical panel between the front and rear doors. If you need to access it for cleaning or inspection:
If the spring inside the retractor is weak or broken, or if the belt locks after a crash and won’t extend, the entire unit needs to be replaced. DIY re-springing is technically possible but fiddly, easy to get wrong, and potentially dangerous if the spring releases unexpectedly.
Older vehicles, like a 1975 Triumph TR6 or similar classics, often have simpler retractor mechanisms without pyrotechnic pre-tensioners. This makes basic cleaning and adjustment more feasible for hobbyists, but it doesn’t eliminate all the risks.
Typical issues in classic cars include:
If you decide to remove the retractor cover, exercise extreme caution. These springs can uncoil violently if released unexpectedly. Wear eye protection, work on a clear bench, and have a plan for containing the spring if it escapes.
Many classic car enthusiasts who value originality still opt for new, modern three-point belts designed specifically for vintage vehicles. These bolt onto factory mounting points and cost around $130–$200 per pair – a reasonable investment for genuine safety improvement.
For any seat belt older than about 20–25 years, replacement is almost always safer than attempting to rebuild the retractor mechanism. Webbing degrades with age even if it looks fine.
Some conditions simply can’t be fixed with cleaning, lubrication, or adjustment. When any of the following apply, replacement is mandatory from a safety standpoint:
| Damage type | Why it’s dangerous |
|---|---|
| Frayed edges | Reduces tensile strength, may tear under load |
| Cuts or nicks anywhere | Stress concentration point that can fail suddenly |
| Burn or melt marks | Fibres are compromised at the molecular level |
| Heavy fading or stiffness | UV degradation weakens the material |
| Torn stitching near anchors | A stress concentration point that can fail suddenly |
If your vehicle has been in a collision and any of the following apply, you need a professional assessment and likely replacement:
The belt itself isn’t the only component that matters. Check for:
On modern cars, seat belt pre-tensioners and load limiters are integrated into the overall restraint system. These components must be replaced according to the manufacturer’s instructions after any significant accident – they’re designed for single use only.
Check your vehicle’s handbook or a model-specific service manual for recommended replacement intervals and procedures. Some manufacturers specify replacement after a certain number of years regardless of visible condition.
Understanding what you might pay helps you make informed decisions and avoid being overcharged. Here are realistic ballpark figures:
| Service | UK cost range | US cost range |
|---|---|---|
| DIY cleaning/adjustment | Free | Free |
| Professional diagnosis | £50–£60 | $60–$100 |
| Professional repair (buckle/retractor, no replacement) | £120–£150 | $150–$220 |
| Full front belt replacement with pre-tensioner (main dealer) | £200–£400 per belt | $250–$500 per belt |
| Full front belt replacement (independent garage) | £150–£300 per belt | $180–$350 per belt |
| Replacement seat belt webbing only (specialist service) | £60–£120 | $75–$150 |
For high-mileage or older vehicles with multiple failing belts and other major faults, it’s worth comparing repair costs with the car’s overall value. If you’re facing several hundred pounds in belt work plus other issues, upgrading or even scrapping the vehicle might make more financial sense.
When getting quotes, prioritise quality and compliance with safety standards over chasing the absolute lowest price. A cheap replacement that fails in an accident is no saving at all. Collect quotes from at least two or three approved garages or seat belt specialists before committing.
Some insurance policies cover the cost of replacing a seat belt after an accident as part of the overall claim. Check your policy documents or call your insurer before paying out of pocket – you might be able to claim the cost.
Even after a successful repair or replacement, the job isn’t finished until you’ve verified everything works correctly. Never assume – test before anyone rides in that seat.
A working belt worn incorrectly still won’t protect you properly:
If the belt is worn correctly but still feels too tight, choosing the shortest compatible extender can improve comfort without introducing dangerous slack.
For families, belt fit matters just as much as belt function—especially as children grow and transition out of boosters. Read The 5-Step Seat Belt Test
If a belt fits correctly but won’t comfortably reach the buckle, an adjustable extender should be used only to restore proper fit—not to bypass safe belt use.
Make a quick inspection part of your routine – perhaps when you fill up with fuel or wash the car:
If you notice any issues developing, address them promptly. A small problem caught early is usually a simple fix. Left to worsen, it becomes a replacement job or worse, a safety failure when you need the belt most.
Taking a few minutes to diagnose and maintain your seat belt could prevent serious injury or save you from an unexpected garage bill. If you’re ever in doubt about whether a repair is safe to attempt yourself, err on the side of caution and consult a qualified mechanic. Your life – and the lives of your passengers – depend on that strip of fabric doing its job when it counts.